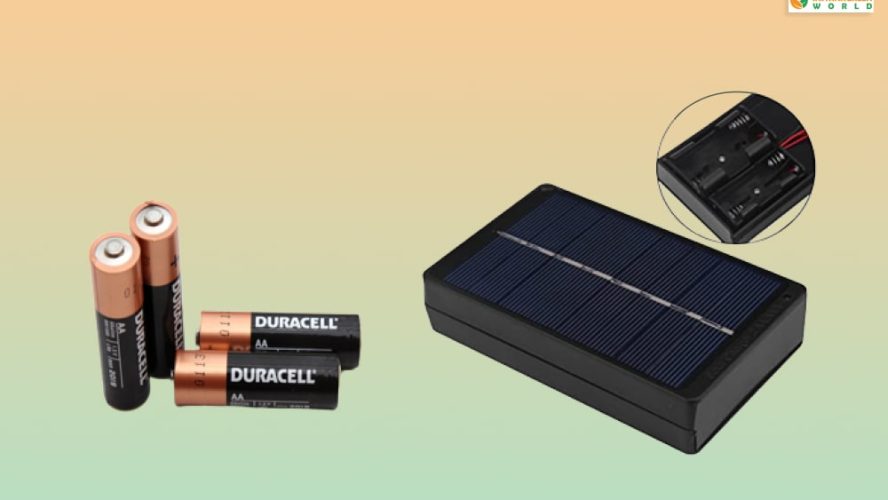
Imagine a situation where you are in your house, and the lights suddenly go off. Unfortunately, your flashlight batteries also die out on you. Now you are left in the dark, with no light to guide you. Don’t you wish you had a solar battery charger to charge your flashlight?
Solar battery chargers can become one of the most important things in your household, especially if you have a lot of electrical gadgets that use AA and AAA batteries. Essential devices like flashlights, TV remotes, wall clocks, and more use AA batteries – which can run out of power at any time.
Therefore, to be on the safe side, creating a DIY charger that uses solar batteries can be a great way to prevent future mishaps. Therefore, prepare your toolbox and get working!
What Is A Solar Battery Charger?
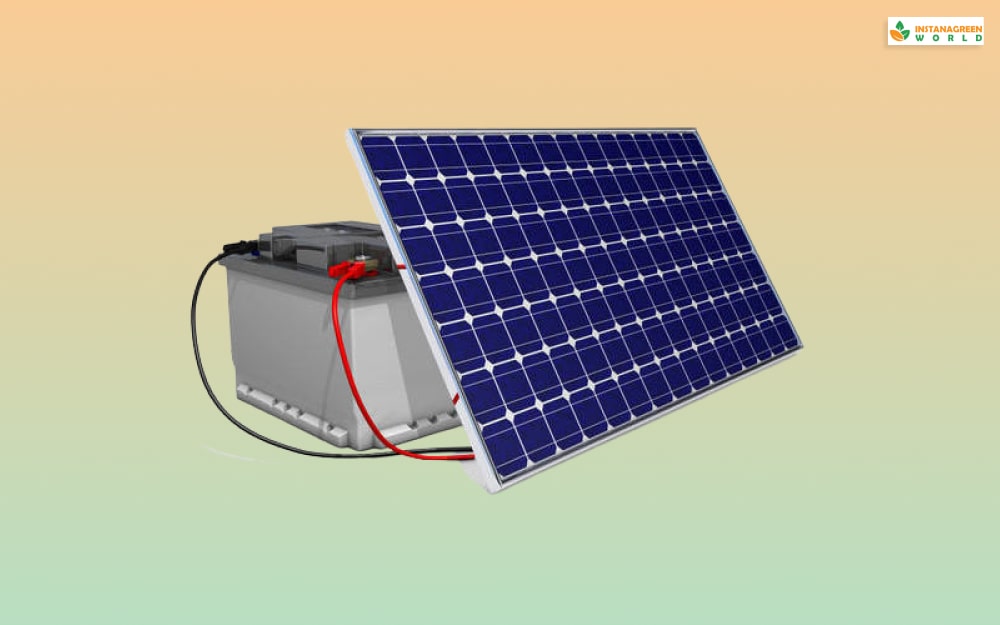
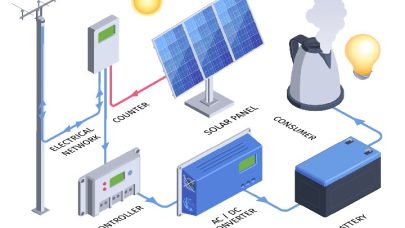
As the name suggests, a solar battery charger is an electronic device that generates electricity by absorbing heat from sunlight. This is possible because of the various mechanisms of the device and the materials that make up its composition. In addition, most of these chargers are small and easily portable.
These chargers use various miniature solar panels that have the power to absorb sunlight and its heat. By storing this energy, it uses these solar panels to convert this stored energy into electricity. In addition, these chargers are eco-friendly and generate no waste materials.
Why Do AA Batteries Need Charging?

AA Batteries need charging because they contain a limited amount of electrical energy in them. However, they will provide enough energy to run a device like a flashlight for a few months if used frequently. This is why more energy-intensive appliances like solar water heaters do not make use of AA batteries.
However, most people do not use chargers to re-energize their batteries because of the fact that they are pretty cheap. People can easily replace them and buy a new one anytime from any nearby electronic shops. However, this generates lots of metal waste like depleted AA battery cells. In addition,
How To Make The Best Solar Battery Charger?

If you want to make your solar battery charger in your home by following a DIY process, then you are in luck.
1. Get The Required Hardware
Like a master chef, the first step in building any hardware by yourself is knowing what ingredients are required. For making this 12v solar battery charger, you will need the following parts:
- 5v Photovoltaic Solar Cell (can be monocrystalline solar panels or polycrystalline solar panels)
- 2x General Purpose PCB terminal Blocks
- 1N4007 Diode (High Power)
- Copper Wires and Copper Stands
- SPDT Switch
- 2x Terminal Blocks
- 7v 18650 Battery
- 18650 Battery Holder
- TP4056 Battery Protection Board (General Circuit Board) – 1A Rating
- 5v Power Booster
- Connecting Wires
- Soldering Equipment
2. Solder All The Parts Together
After gathering all the necessary parts, it’s time to get working. First, you have to ensure that you assemble all the parts inside the battery protection board. However, before you start building, you must ensure that the solar cells are functional.
The main motive of this step is to ensure that the connection between the batteries and the solar cells is upheld and maintained. Any error will create friction that can lead to sparks, with the entire auto solar battery charger apparatus going up in flames.
To measure its functionality, heat them under the sun and use the voltmeter to measure its energy output capacity.
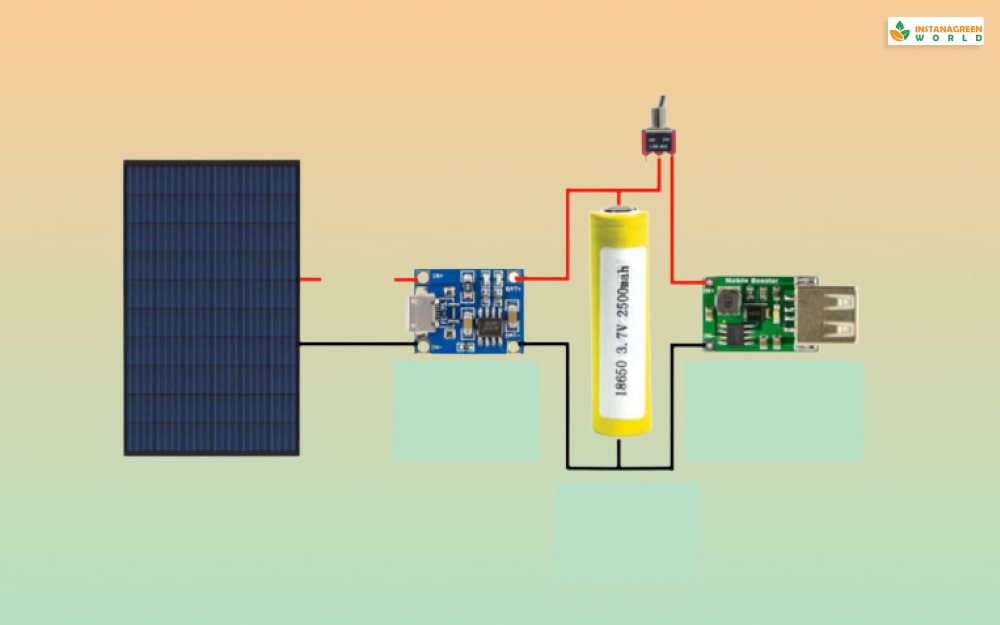
When you are assembling the parts on the board, try to get the assembly line to look something like the image below:
3. Place The Parts And The Board Together
The battery protection board should have a 1A rating since it will be responsible for absorbing any electrical discharge that can stem out of the portable solar battery charger. In addition, it will ensure that the device automatically turns off if the device’s voltage goes below 2.4v.
The board is used to ensure that the batteries do not get overloaded with high voltage current and prevent any chance of a reverse polarity connection. In addition, this setup will ensure that this solar battery backup for your gadgets lasts for a few years at least.
4. Place Them On Copper Legs
There is a high chance that your TP4056 board can get damaged due to heating issues when placed under the sunlight and used. Therefore, you need to keep it away from the other parts of the solar battery maintainer.
To ensure this, solder the board to three to four copper legs to hold the board together and keep it from melting under higher temperatures.
When you do this, just make sure that the BAT+ side of the board corresponds with the positive side of the battery and vice versa.
5. Give It A Power Boost
If you switch the solar battery charger on generally as it is now, the TP4056 board will provide a lower voltage output of only 0.9v. Therefore, you need to boost it a bit before you can use it efficiently.
This is why we need the use of a 5v voltage booster. Make sure it’s connected to the circuit as shown and increase the voltage of the solar panel battery bank. Also, do not make the mistake of joining the wrong ends. The battery’s + side should be attached to the IN- side of the booster and vice versa.
In addition, the SPDT switch on top is one of the main ingredients of this mechanical recipe since it helps you connect the solar power battery to any device you want to get charged.
6. Test The Solar Battery Charger
When you are done assembling all the parts, it’s time for you to test this device out and see if all the effort was with it. Again, keep a nanometer by your side to constantly check its voltage output.
The best voltage meters are:
- Charging Voltage: 4.2v
- Discharging Voltage: 3.7v (an indication that you need to recharge the batteries)
- Booster Voltage: 0.9v – 5.0v
If you see that your voltage meters are different from the numbers presented above, it means that there is an issue with your apparatus.
How Does The Solar Battery Charger Work?

Now that you have made your home battery backup, you must be interested to know how it all works, right?
- The solar panels have the task of absorbing sunlight and converting it into DC electricity.
- The TP4056 board ensures that the current flows in all the device circuits.
- The IN4007 diode ensures that the energy stays inside the circuits and never leaks outside. So it acts as sort of a one-way energy gateway.
- The SPDT switch controls the flow of the entire charging process.
- If the blue LED light is on, it means that the charging is complete. If the red light is on, it means charging is underway.
In addition, you can connect a USB cable to the SPDT switch, allowing you to charge USB devices like your smartphone. This makes the device one of the best rechargeable batteries that you can make in your home.
Frequently Asked Questions:
Ans: Yes, they can be without any issue. However, it is not recommended.
Ans: Typically, it will take around five to eight hours.
Ans: You will need 3-watt, 5-watt, and eight or 10-watt solar panels to charge a 12-volt battery.
Ans: Yes, solar panels can drain some juice from your battery, but not too much that it becomes worrisome.
So Are You Ready?
Creating a solar battery charger is not that difficult, especially after reading this article. We have mentioned all the ingredients required, along with how to assemble and operate it.
Having this solar-powered charger in your house can be a great addition since it can help you a lot when things take a turn for the worst. Instead of spending a lot of money on paying electricity bills, why not save that money using solar energy instead?
If you liked reading this article, then check out our other articles at Istana Greenworld!

